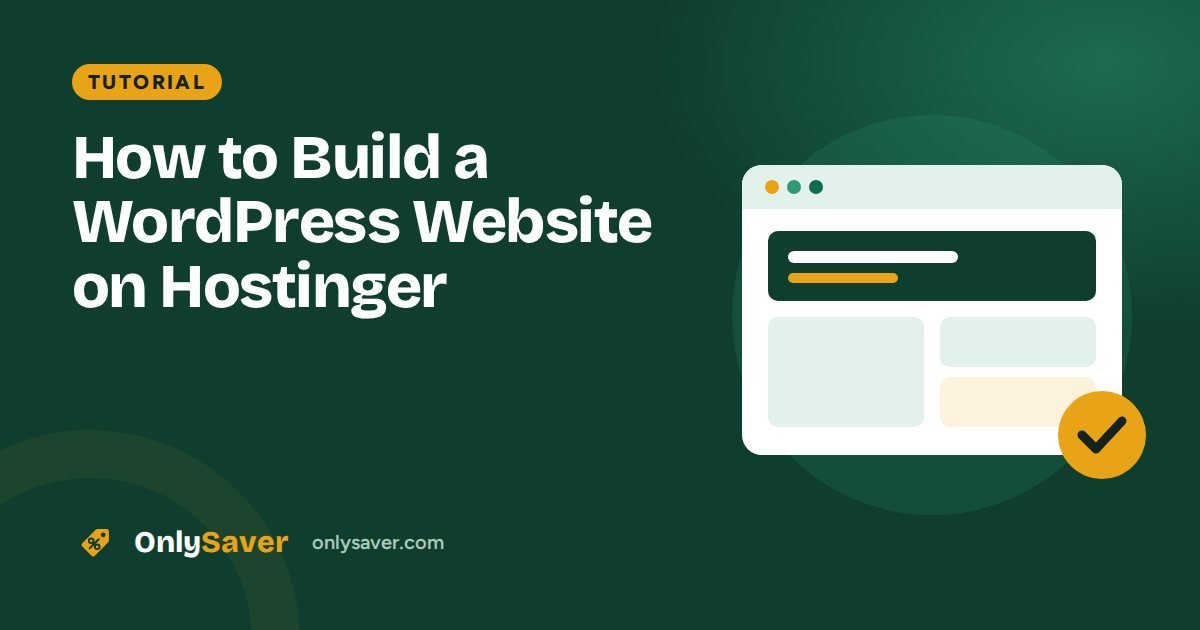
Building your own website is no longer hard or expensive. In this guide you will set up a WordPress website on Hostinger step by step, without writing a single line of code. Even if you have never built a website before, you can follow along and be live within an hour.
What you need
- A Hostinger hosting plan (Premium or Business)
- A domain name (yearly plans include one free for the first year)
- UPI, a debit/credit card or net banking
- About one hour
Step 1: Buy a Hostinger plan
First you need hosting. For a new WordPress website, the Premium plan is enough. If you are building an online store, choose Business.
- Click the button below. Our referral link gives you 20% off eligible plans automatically.
- Choose your plan and term (12, 24 or 48 months). Longer terms have a lower monthly price.
- Create your account (you can sign in with Google) and pay.
Step 2: Choose your domain
After payment, Hostinger's setup wizard asks you to set up your website. This is where you claim your free domain. If you already own a domain elsewhere, choose "Use an existing domain" instead.
Step 3: Install WordPress
The setup wizard asks what you want to build. Choose WordPress, then:
- Set your WordPress admin email and a strong password, and save them somewhere safe.
- Choose your website's language.
- For the server location, choose India (or the closest Asian location) if most of your visitors are in India.
- Click Install. WordPress is ready in a few minutes.
You can also install WordPress later from hPanel under Websites → Add website → WordPress.
Step 4: Check that SSL (HTTPS) is active
Hostinger includes a free SSL certificate that is usually activated automatically. In hPanel, open Security → SSL and confirm the status is "Active". Without SSL, browsers show a "Not secure" warning, which scares visitors away and hurts your Google ranking. Once your domain points to Hostinger, an SSL checker confirms the certificate is valid.
Step 5: Log in to the WordPress dashboard
Open yourdomain.com/wp-admin in your browser, or click "WordPress admin" in hPanel. This dashboard is where you manage everything on your site.
Step 6: Install a theme
Your theme controls how your website looks. Go to Appearance → Themes → Add New. These free themes are great places to start:
- Astra: lightweight, fast and flexible for any kind of site
- GeneratePress: extremely fast, ideal for blogs
- Kadence: attractive designs without code
Step 7: Install the essential plugins
| Plugin | What it does |
|---|---|
| LiteSpeed Cache | Speeds up your site (usually pre-installed on Hostinger) |
| Rank Math or Yoast SEO | SEO titles, descriptions and sitemaps for Google |
| WPForms Lite | Contact forms |
| WooCommerce | Only if you want to sell products |
Step 8: Create your key pages
Under Pages → Add New, create Home, About, Contact, Privacy Policy and Services (or Products). If you are starting a blog, write your first article under Posts → Add New.
Step 9: Submit your site to Google
Add your website to Google Search Console and submit your sitemap (Rank Math and Yoast create one automatically). This helps Google discover your pages faster.
WordPress settings to change on day one
- Settings → General: set your site title, tagline and the correct time zone (for example Kolkata).
- Settings → Permalinks: choose "Post name" so URLs look like
yourdomain.com/my-first-post. - Settings → Reading: make sure "Discourage search engines" is unticked once your site is ready.
- Settings → Discussion: turn off comments if you do not want them, to avoid spam.
- Users → Profile: set a display name so posts do not show your username.
Security basics
- Use a strong, unique password for the WordPress admin and your Hostinger account (a password generator helps).
- Turn on two-factor authentication for your Hostinger account.
- Keep WordPress, themes and plugins updated; enable automatic updates for minor releases.
- Delete themes and plugins you do not use.
- Never install "nulled" (pirated) themes or plugins; they often contain malware.
Backups
Hostinger takes automatic backups (weekly on Premium, daily on Business and above), and you can create one manually in hPanel before any big change. Before installing a new plugin or changing theme, take a backup first; if something breaks, you can restore it in a few clicks.
Free vs premium themes
Free themes from the WordPress directory are reviewed and updated, and they are enough for most new websites. Premium versions add extra layouts and features. Start free, and upgrade only when you know exactly which extra feature you need.
Your next steps
- Write your homepage, About and Contact pages.
- Publish your first few posts or service pages.
- Set up a business email on your domain.
- Make it fast: speed up WordPress on Hostinger.
- Plan your content: how to start a blog in India.
Common setup problems
- Site shows "Not secure": SSL is still being issued or the site address uses http://. Wait a little, then check Settings → General uses https://, and confirm visitors are sent to HTTPS with an HTTPS redirect checker.
- Domain shows a parking page: DNS is still updating after you connected the domain. This can take a few hours.
- Cannot log in to wp-admin: use the "Lost your password?" link or the WordPress admin button in hPanel.
- Layout looks broken after a plugin install: deactivate the plugin, clear the cache and test again.
What to put on your key pages
- Homepage: what you offer, who it is for and one clear action (call, buy, book or contact).
- About: your story, experience and a real photo to build trust.
- Services or Products: clear descriptions, prices or "starting from" prices, and what is included.
- Contact: a form, phone or WhatsApp number, email and, for local businesses, your address and map.
- Privacy Policy: required if you collect any personal information.
You are live
That is it. Your WordPress website is online. Keep adding content regularly, watch your speed (see how to speed up WordPress on Hostinger), and take backups from hPanel from time to time.