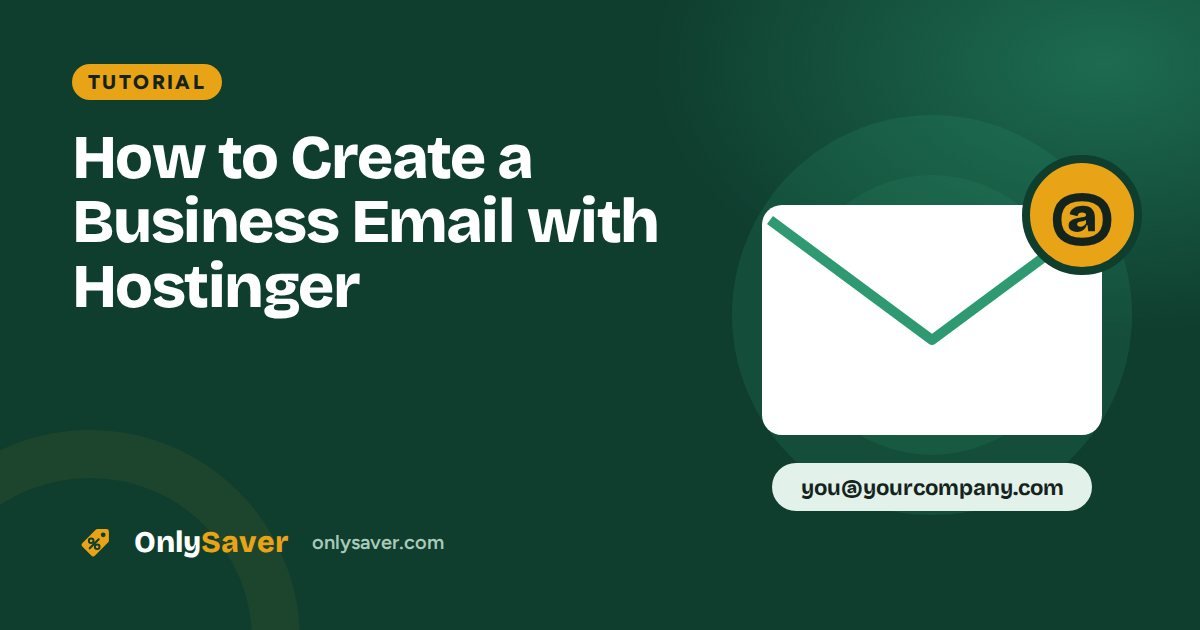
An email like rahul@yourcompany.com looks far more trustworthy than rahul.business123@gmail.com. Customers are more likely to reply, and your messages are less likely to look like spam. Here is how to set one up on Hostinger in about ten minutes.
What you need
- A domain (for example yourcompany.com). Yearly Hostinger plans include one free: see how to claim a free domain.
- A Hostinger hosting plan that includes email, or a Hostinger email plan (get 20% off with our referral link)
Step 1: Open the Emails section in hPanel
Log in to hPanel and click Emails in the top menu. Select your domain. If email is not set up yet, hPanel guides you through activating it for that domain.
Step 2: Create a mailbox
- Click Create email account.
- Type the name before the @ (for example
hello,salesor your first name). - Set a strong password and save it.
hello@ or contact@. Use forwarders (below) for others, so you are not juggling ten inboxes.Step 3: Check the DNS records
For email to work and stay out of spam folders (new to DNS? see domain vs hosting), your domain needs MX, SPF, DKIM and ideally DMARC records. If your domain uses Hostinger's nameservers, these are usually added automatically. hPanel shows their status in the email settings and flags anything missing. If your domain is managed elsewhere, copy the records hPanel shows into your registrar's DNS settings.
To confirm the records from outside, use an MX record checker and an SPF checker. This explainer on SPF, DKIM and DMARC covers what each record does.
Step 4: Read and send email in webmail
Open webmail from hPanel, or go to mail.hostinger.com and log in with your new address and password. Send a test email to your personal Gmail and reply to it to confirm both directions work.
Step 5: Connect your phone or Gmail app
To use the account in Gmail, Outlook or Apple Mail, add it as an IMAP account. hPanel lists the exact settings for your account; they typically look like this:
| Setting | Value |
|---|---|
| Incoming server (IMAP) | imap.hostinger.com, port 993, SSL |
| Outgoing server (SMTP) | smtp.hostinger.com, port 465, SSL |
| Username | Your full email address |
| Password | Your mailbox password |
Always use the values shown in your own hPanel if they differ from the table.
Useful extras
- Forwarders: send
sales@mail to your main inbox automatically. - Auto-reply: set an out-of-office message when you are away.
- Signature: add your name, phone number and website in webmail settings.
Webmail or an email app?
You can read your business email in the browser (webmail) or in an app. Webmail needs no setup and works from any computer. An app such as Gmail, Outlook or Apple Mail is more convenient on your phone and lets you see several inboxes in one place. Many people use both: the app day to day, and webmail as a backup.
Keep your email secure
- Use a long, unique password for every mailbox and a password manager to store them.
- Turn on two-factor authentication for your Hostinger account, which controls all your mailboxes.
- Never share one mailbox password among several staff members. Create separate addresses instead.
- Be careful with emails asking you to "verify your mailbox" or reset passwords; these are common phishing tricks.
- Remove mailboxes when an employee leaves, or change the password immediately.
Get your emails delivered, not filtered
Correct SPF, DKIM and DMARC records are the foundation. On top of that:
- Send from a real address people recognise, not
noreply@, when you expect replies. - Keep the subject line honest and avoid all-caps or lots of exclamation marks.
- Do not send bulk marketing emails from your normal mailbox. Use a newsletter service designed for it, so your everyday email keeps a good reputation.
- Add a proper signature with your name, business and website.
- Re-check your policy now and then with a DMARC checker.
How many mailboxes do you need?
| Business | Suggested setup |
|---|---|
| Freelancer or solo founder | One personal mailbox plus a hello@ forwarder |
| Small shop or clinic | One mailbox per person plus info@ or contact@ |
| Online store | Personal mailboxes plus orders@ and support@ |
Forwarders, aliases and auto-replies
You do not need a separate mailbox for every address. A forwarder sends mail from one address (such as sales@) to an existing inbox, which keeps things simple for a small team. An auto-reply confirms receipt or tells people you are away. Set these up in the Emails section of hPanel. As your team grows, give each person their own mailbox so you can control access individually.
Switching from Gmail or another provider
Moving to an address on your own domain does not mean losing your old inbox. Create your new mailbox, then add it to the Gmail app or Outlook so you can read both in one place. Set an auto-reply or signature on your old address telling contacts about the new one, and update your website, invoices, visiting cards and social profiles. After a few months, most messages will arrive at the new address naturally.
Common problems
- Not receiving email: MX records are missing or point elsewhere. Check them in hPanel.
- Emails land in spam: SPF, DKIM or DMARC is missing. Add the records hPanel shows.
- Phone app will not connect: use the full email address as the username and double-check the ports.
Moving an existing website and its email from another host? Create the mailboxes first, then follow our migration guide so no messages are lost.